Chikankari Embroidery is fascinating our eyes through ages but have you ever thought, What are the steps taken to make a chikankari embroidered masterpiece.
Chikankari is a fine artwork done by expert artisans in which the 5 essential steps are as follows:
- Design
- Engraving
- Block printing
- Embroidery
- Washing and finishing
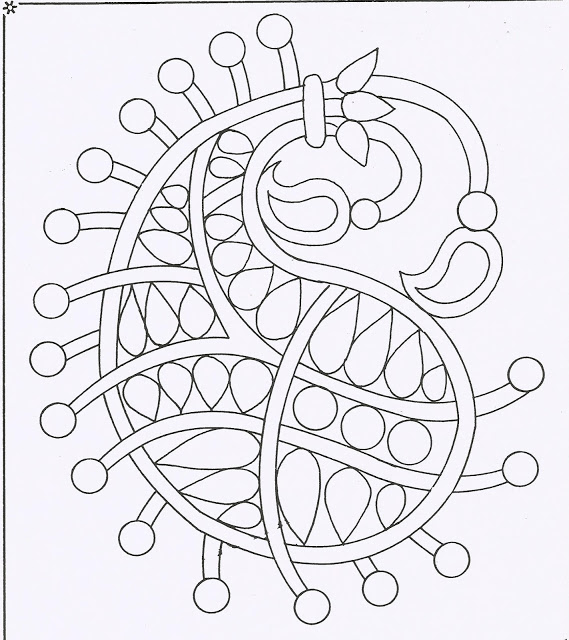
Design
A design is conceptualized the designers for the complete piece viz a saree, a top . a sherwani etc. At the time of deciding the design various motifs and their placements are finalized, to get that complete effect on the final apparel.
Engraving
These design patterns is then engraved on a wooden block or at times sketching it manually. There are thousands of pre made blocks/ motifs already available and the new ones are designed from time to time to meet the new fashion demands.

Once the block is ready then the printing is done on the fabric. Printing is carried out by the use of wooden blocks dipped in dyes like neel and safeda to make a pattern.

Embroidery
The printed fabric then reaches the craftsmen who get to work with the cloth stretched by a wooden frame. They do the enriching embroidery using a variety of stitches. These stitches are done on the same pattern which are engraved on the fabric by block printing.

Washing and finishing
After the embroidery, the fabric reaches the laundry and is thoroughly washed and given the finishing touches. This includes bleaching, acid treatment, stiffening or starching and ironing.


